How to Migrate to Obsidian LiveSync Without Losing Your Notes
A safe, step-by-step guide to moving your Obsidian vault from iCloud, Dropbox, or OneDrive to LiveSync without risking data loss or sync conflicts.
Simon
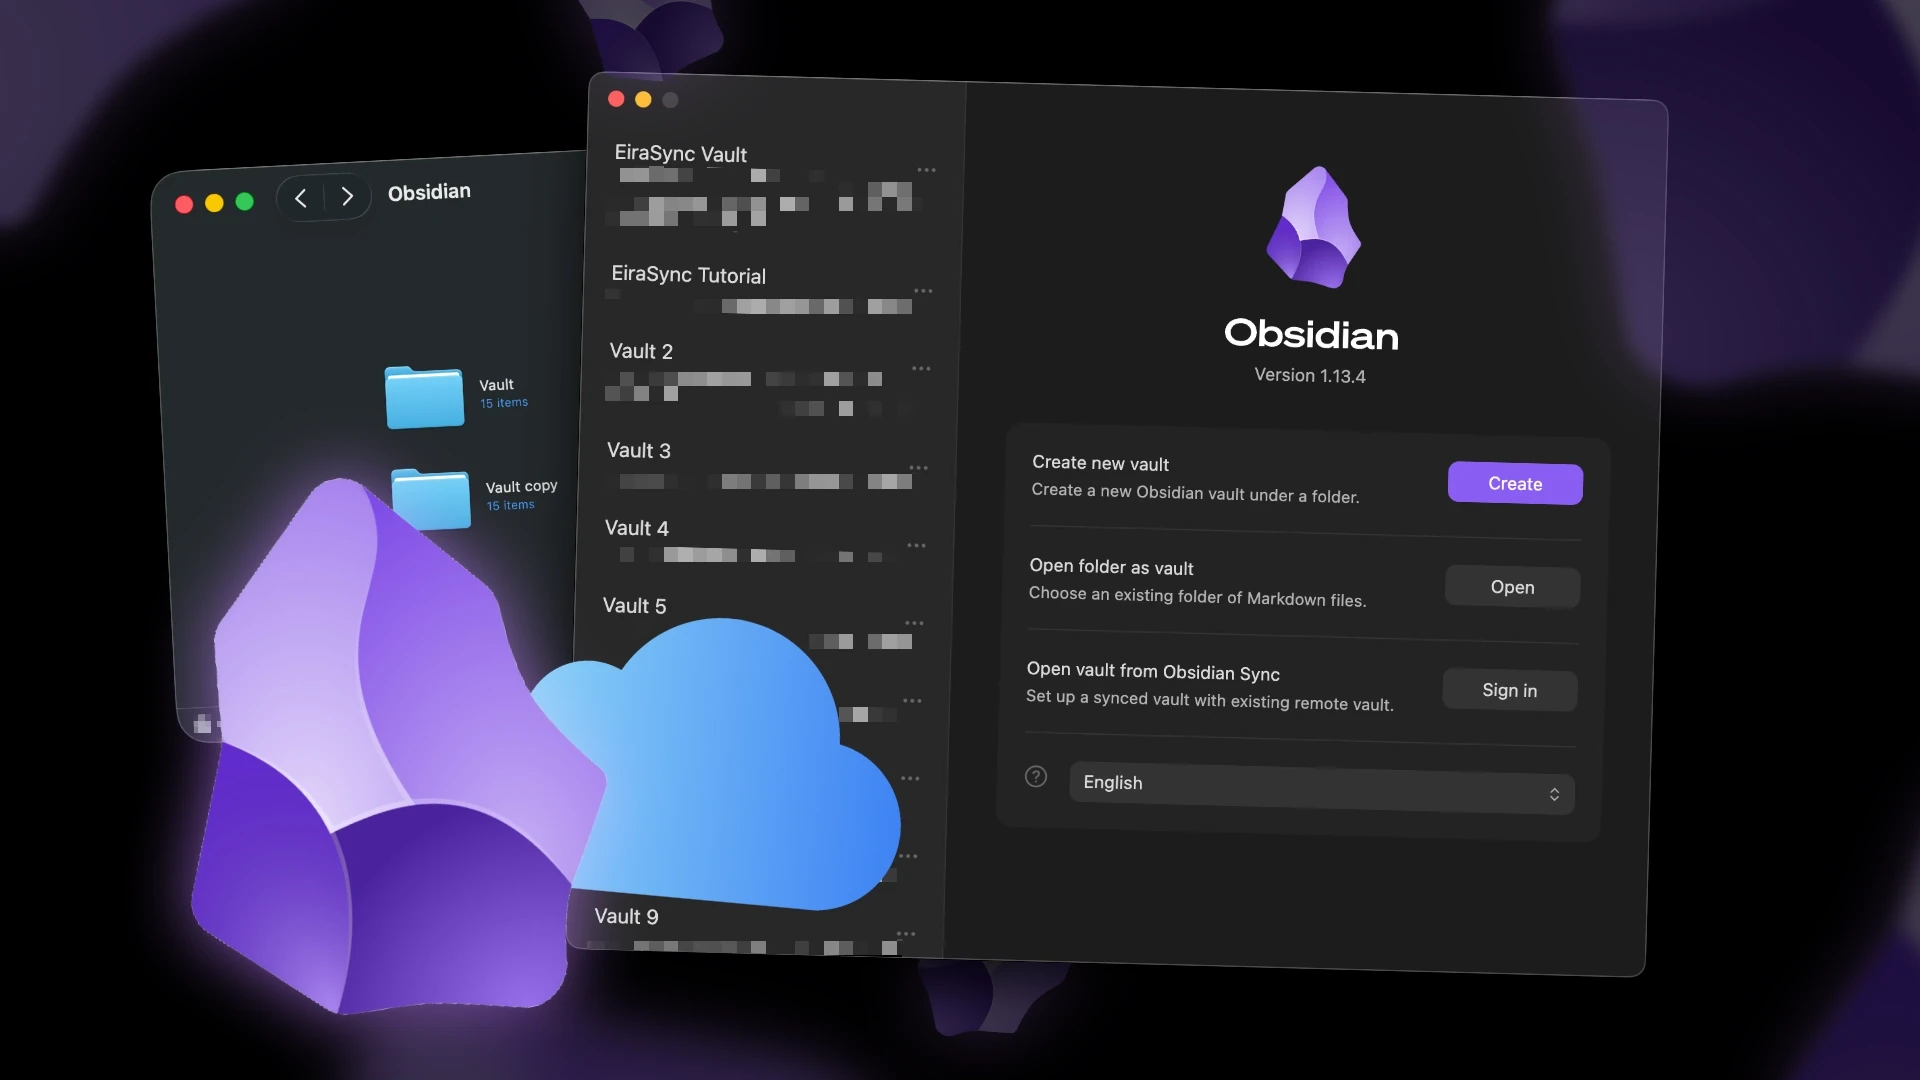
Switching synchronization methods for your central knowledge base can feel risky. If you are currently using a file-based sync like iCloud, Dropbox, or OneDrive, moving to a database-driven solution like Obsidian LiveSync requires a clean break.
Running both synchronization methods on the same vault at the same time can lead to duplicate files, conflicting changes, and synchronization errors, similar to the sync conflicts described in our guide on iCloud issues.
Can I switch without losing my notes?
Yes. As long as you verify your current sync, create a local backup first, and migrate one device at a time, moving to LiveSync is completely safe and straightforward.
Before You Start
Before migrating, make sure:
- Your current vault has finished syncing.
- You know which device contains the latest version of your notes.
- All files are fully downloaded locally.
- You have enough free disk space for a complete backup.
The Golden Rule: One Sync at a Time
Only one synchronization system should actively synchronize a vault at a time. LiveSync updates files instantly. Traditional cloud providers try to upload those same changes but are often slightly slower, creating an endless loop of conflict files. You must isolate your vault from the cloud folder before activating LiveSync.
Here is the safest approach to migrating your vault.
Step 1: Verify Your Vault is Fully Synced
Before disconnecting iCloud or Dropbox, ensure your latest changes have already synchronized to your primary computer. Open Obsidian, check your recent notes, and wait until your cloud provider reports that all background synchronization is complete.
Step 2: Create a Hard Backup
Create a complete, offline copy of your data to eliminate any risk of data loss.
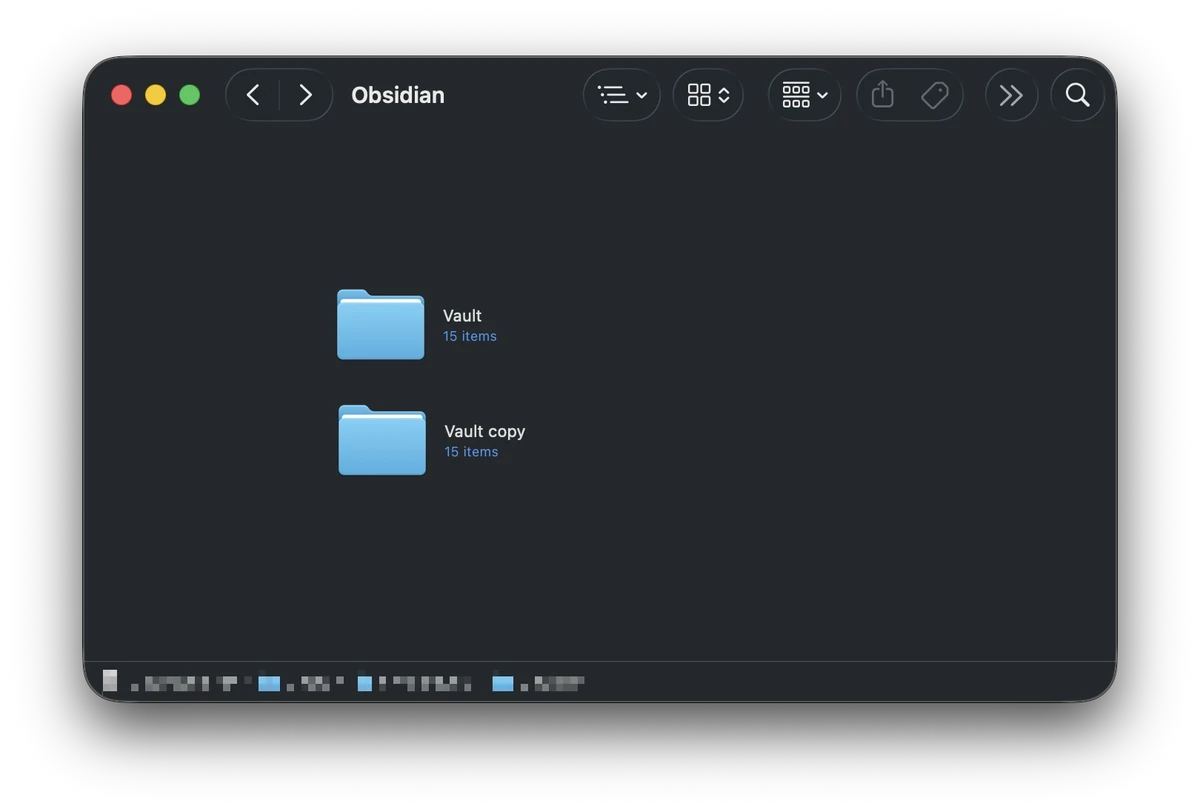
- Locate your Obsidian vault in your computer's file explorer.
- Copy the entire vault folder.
- Paste it somewhere safe, like your Desktop or a local Documents folder.
- Rename this copied folder to
Obsidian_Backup_Date.
Step 3: Relocate the Working Vault
Now, you need to stop your cloud provider from syncing your active vault.
- Create a new folder on your local drive that is strictly not synchronized by iCloud, Dropbox, or OneDrive.
- Move the entire vault folder, including the hidden
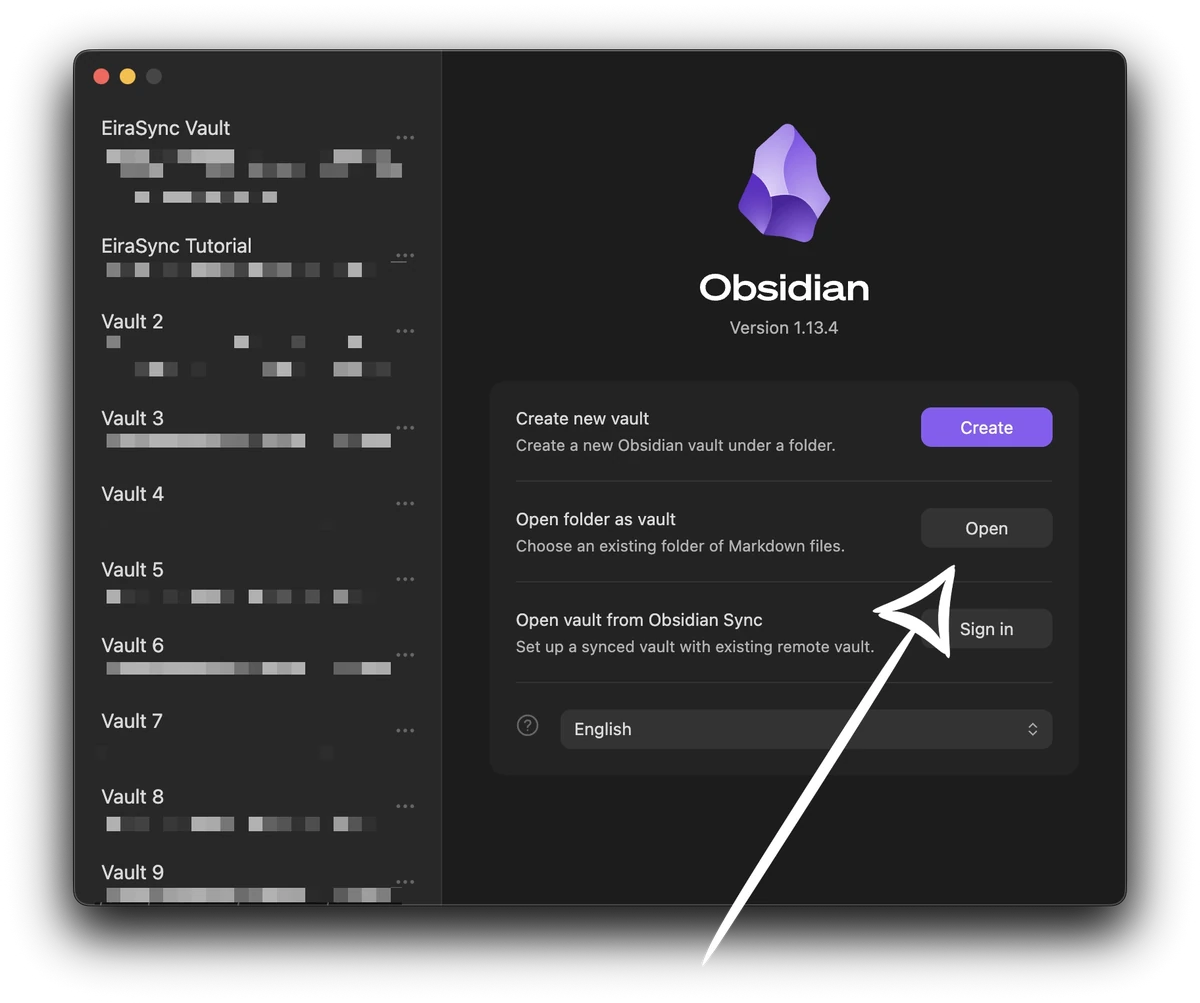
.obsidiandirectory, into this new local folder. - Open Obsidian. It will likely say "Vault not found."
- Click Open folder as vault and select the new location.
Step 4: Clean Up Existing Conflicts
Before pushing your notes to a new database, ensure your vault is clean. Search your vault for duplicate files such as Note 1.md, Note 2.md, or files containing conflicted copy. Consolidate any missing information into the original note and delete the duplicates. A clean source prevents uploading junk data to your new server.
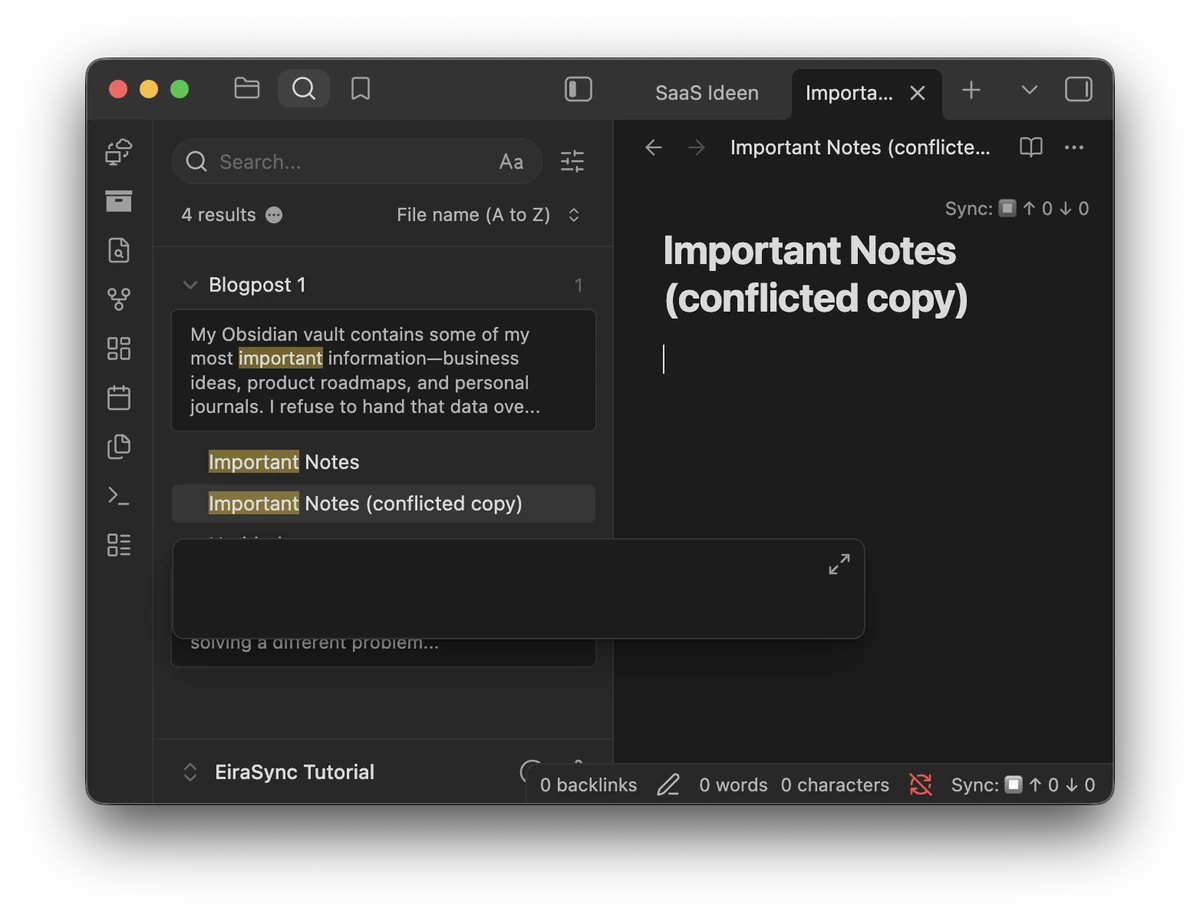
Step 5: Set Up LiveSync on the Primary Device
Now that your vault is purely local and clean, safely initialize the database synchronization.
- In Obsidian, go to Settings > Community plugins and install Self-hosted LiveSync.
- Connect your CouchDB database. This can be a self-hosted instance or a managed provider such as EiraSync.
- Enable End-to-End Encryption.
- Run the initial replication to upload your clean local vault to the database. The initial replication uploads your entire vault only once. After that, LiveSync synchronizes only incremental changes.
Important: Do not re-enable iCloud or Dropbox for this vault after LiveSync has been configured. If you need help with the plugin settings, follow our detailed LiveSync Setup Guide.
Step 6: Migrate Your Other Devices (Clean Slate)
Do not try to untangle iCloud on your iPhone, iPad, or second laptop. The safest method is to start fresh.
- Open Obsidian on your second device.
- Delete the old, cloud-synced vault entirely from that device.
- Create a new, empty vault.
- Install the LiveSync plugin in this new vault.
- Use the Setup URI from your primary device to connect to the database and download your notes.
Step 7: Verify Everything Works
Create a new note named Test Sync on your primary computer. Open your secondary device and confirm the note appears within a few seconds. Delete the test note and confirm it disappears on both ends.
Frequently Asked Questions
Do I have to create a new vault?
No. You can migrate your existing vault. LiveSync synchronizes the vault you already have. Creating a new vault is only recommended on additional devices when downloading your vault from the database for the first time.
Should I delete my iCloud vault immediately?
No. Keep your hard backup for a few days as an additional safety net until you have confirmed that every device is syncing correctly with LiveSync.
Can I keep using iCloud as a backup?
No, not on the active vault folder. Running iCloud and LiveSync on the same folder will cause the same kind of file conflicts described in our iCloud sync guide. If you want additional backups, use a dedicated backup solution that stores copies outside your active vault folder.
Can I migrate from Dropbox or OneDrive?
Yes. The process is identical. Ensure all files are downloaded locally, move the vault folder completely out of the Dropbox or OneDrive directory, and then set up LiveSync.
What if my vault already contains duplicate files?
Clean them up before starting the initial LiveSync replication (see Step 4). LiveSync will faithfully sync whatever is in your folder, including existing duplicates, so starting with a clean slate is highly recommended.
Do I need to migrate every device?
Yes. Any device you want to use with your Obsidian vault must be connected to the LiveSync database.
Can I switch back to iCloud later?
Yes. LiveSync does not modify your Markdown notes. If you ever decide to switch to another synchronization method, simply stop using LiveSync and configure the new synchronization method for your local vault. As with any migration, create a backup first and avoid running two synchronization systems on the same vault simultaneously.
Final Thoughts
Once the migration is complete, LiveSync becomes the single source of truth for your vault. This eliminates the synchronization conflicts that commonly occur with file-based sync services and provides a more reliable experience across all of your devices.
If you want the benefits of LiveSync without maintaining your own CouchDB server, EiraSync provides a managed backend that lets you use the same workflow without operating the underlying infrastructure.
Related Guides
If you're still deciding which synchronization method is right for you, or need help setting up your database, these guides may help:
- How to Sync Obsidian Across Devices: Comparing the 5 Best Methods
- Why iCloud Creates Obsidian Sync Conflicts (And How to Fix Them)
- How to Set Up Obsidian LiveSync: Step-by-Step Guide
- Why I Built EiraSync: The Zero-Hassle Obsidian Sync
If you like the LiveSync approach but don't want to maintain your own CouchDB server, you can try EiraSync free for 14 days.